Graphing Circles
 in which (h, k) is the center of the circle and r is the radius.
To graph a circle....
1. Identify the center point and the radius.
2. Graph the center point.
3. Use the radius to find the point above, below, to the left, and to the right of the center point.
4. Draw in the rest of the circle.
Examples:
1.

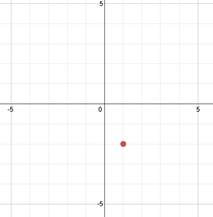
First, we must find the center point and radius. The center is (1, -2) and the radius is 2.
Next, we'll graph the center point:
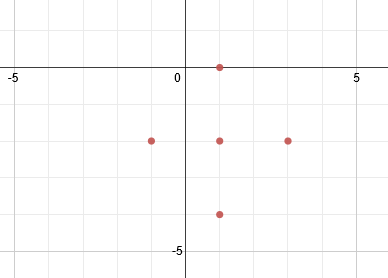
Now, since the radius is 2, we will plot points 2 above, 2 below, 2 to the left, and 2 to the right of the center point.
1.
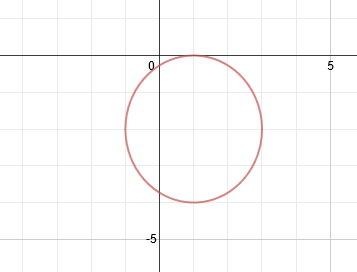
Finally, we will draw the rest of the circle:

And we are done. Remember, though, that the center point is not technically part of the answer, as it is not actually part of the circle. A perfectly technical graph would look like this:
2. Graph

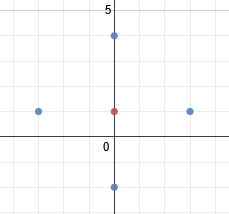
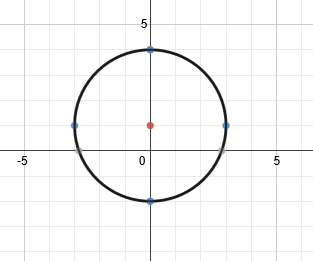
First, identify the center and the radius. Center: (0, 1) Radius = 3
Next we'll graph the center point at (0, 1) and use the radius to draw points above, below, to the left, and to the right.
Next we'll graph the center point at (0, 1) and use the radius to draw points above, below, to the left, and to the right.
Finish by drawing the circle:
Practice: Graph the following circles
1.

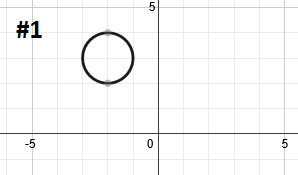
2.

3.

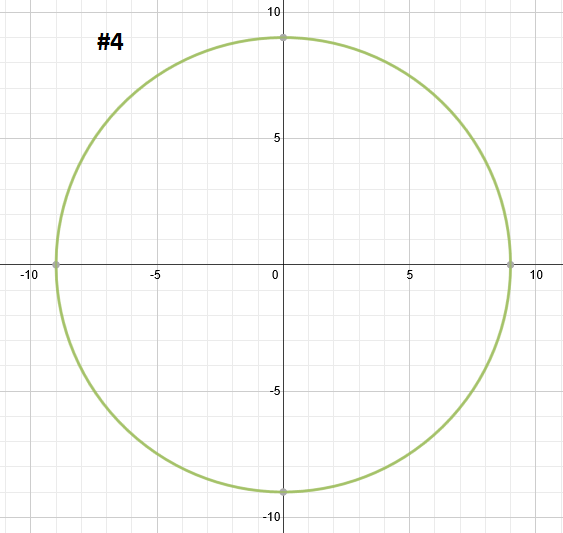
4.

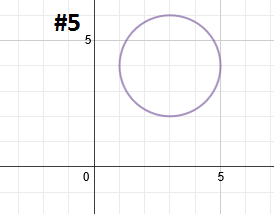
5.

Answers:

|
Related Links: Math Fractions Factors |